After viewing your file categories on the summary page, you may want to remove some or all of the files in one of the categories. Filerev makes it easy to manually select files to move or delete. There are primarily three ways to remove your files using Filerev.
- Manually select files to move or delete
- Use the selection tool to select all files on the current page to move or delete
- Use the Bulk Delete Tool to delete all files in a given category
The filter button/dialog is also a powerful tool to make it easier to select files for deletion and can be used with any of the deletion options listed above. You can read more about using filters in Filerev.
Whenever you delete files with Filerev, the files will be moved to your Google Drive trash. The files in your Google Drive trash are automatically removed after 30 days, but there are some ways to recover files if needed. Also, files in your trash will still use your storage space, so if you want to gain storage space immediately, you will want to empty your Google Drive trash.
![]() Backup: It is always a good idea to create a backup of your Google Drive files before deleting anything. At a minimum, you can use Google Takeout to download a copy of your files from Google Drive.
Backup: It is always a good idea to create a backup of your Google Drive files before deleting anything. At a minimum, you can use Google Takeout to download a copy of your files from Google Drive.
Also, if you delete files that are shared with you, they will remove your access to the file but will not remove the file from the file owner's account. These files will not appear in your trash as the original file was not deleted. In this way, Filerev operates exactly the same way that Google Drive does.
Manually Select to Move or Delete
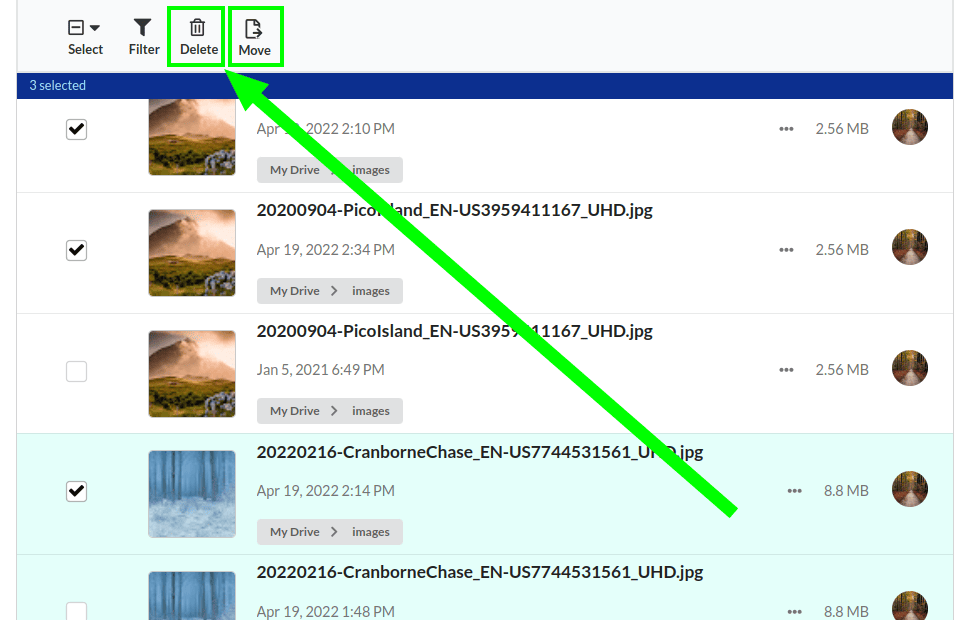
It only takes two steps to move or delete files in Filerev manually. First, select the file or files you want to delete and then click the delete button.

If you click the delete button, you will see a confirmation dialog asking you to confirm that you really want to delete the files.
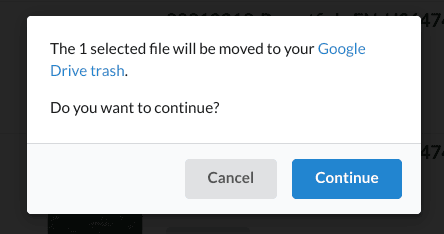
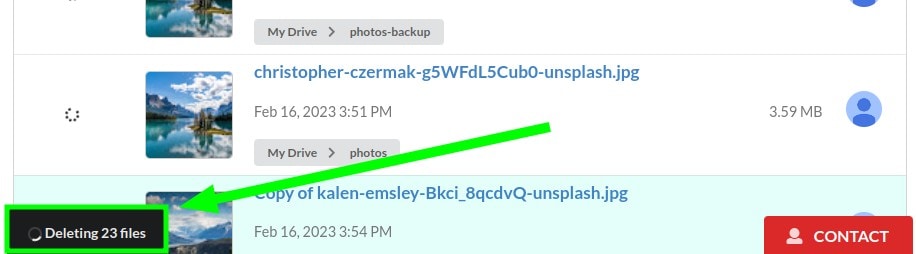
Click continue, and your files will be moved to your Google Drive trash. You will also see a small progress indicator at the bottom left of the screen. This will continue to be displayed until all your selected files are deleted.
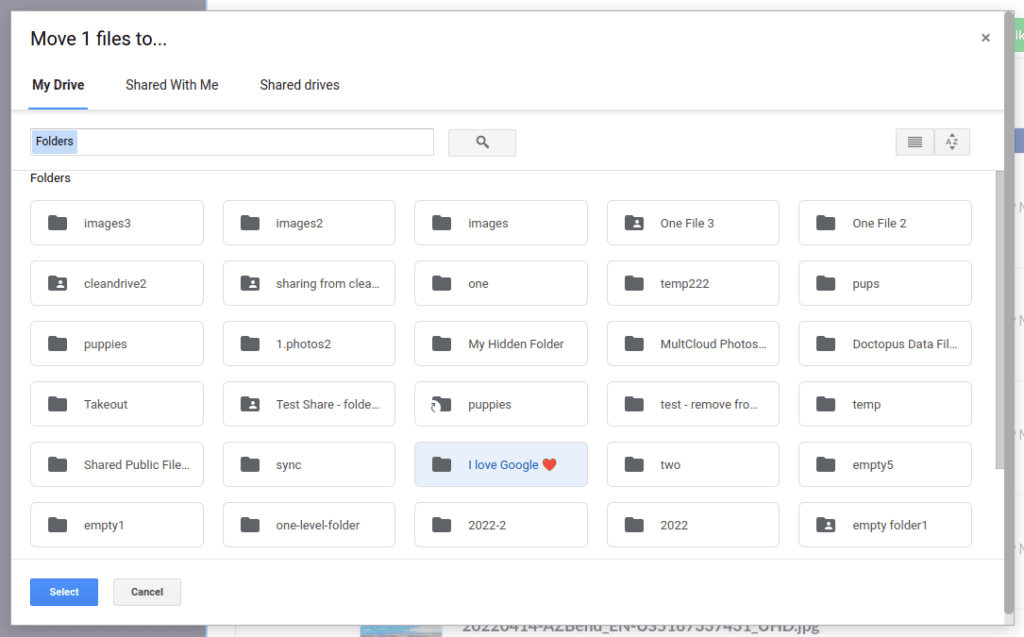
Similarly, if you click the move button, you can choose where you want to move the selected files. This will move all of the files that you selected to the folder of your choosing.
You will also see a progress bar on the bottom of the screen to let you know when all the files have finished moving.
Use the Selection Tool & Delete
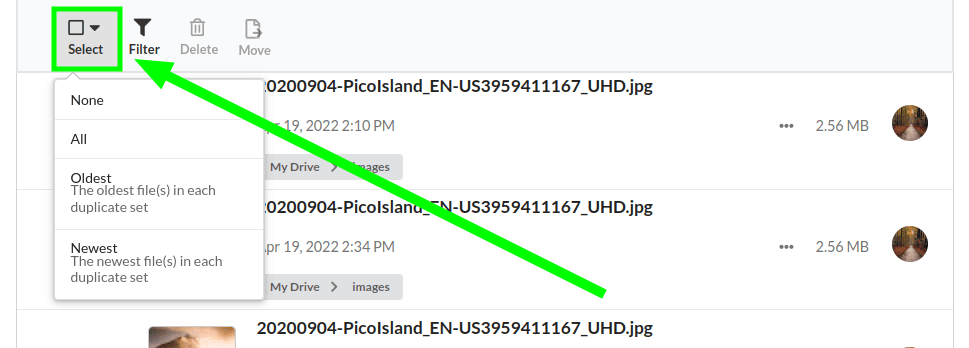
If you would like to select files more quickly, you can use the select button to select what is on the page. For example, when viewing your duplicate files in Google Drive, you can click the select button, and it will show the option to select all, oldest files, or newest files. You can also select none to unselect files that were previously selected.
After you have selected the files you would like to remove, you can click the delete or move button.
Then, you will see a dialog confirming that you really want to delete the files or be asked where you want to move the files. Click continue, and you will see the progress indicator described in the previous section.
Use the Bulk Delete Tool
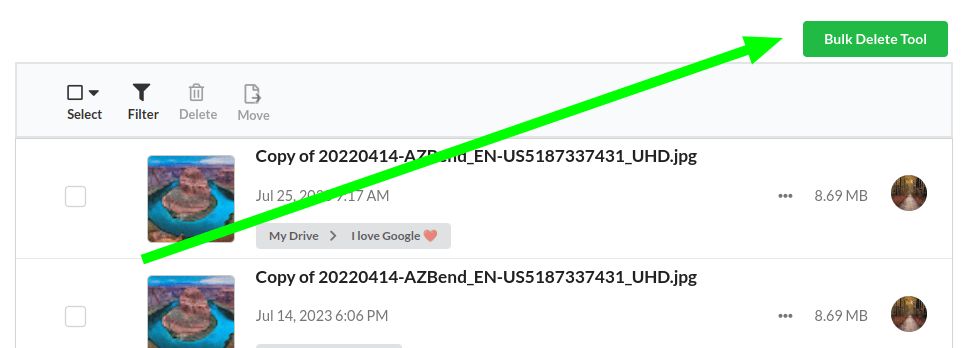
Manually selecting files can be a time-consuming process, and the bulk delete tool is designed to save a lot of time. The main difference between the select button (described above) and the bulk delete tool is that the select button will only select files that you are viewing on the given page. In contrast, the bulk delete tool will work across all files in the given category.
When using the bulk delete tool, you do not need to manually select any files, as it will do the selecting for you. Just click the bulk delete tool button on the top right of the screen.
Then you will see a dialog like the following. Note that the below dialog is for the duplicate files page, but a similar dialog will be shown for any other category.
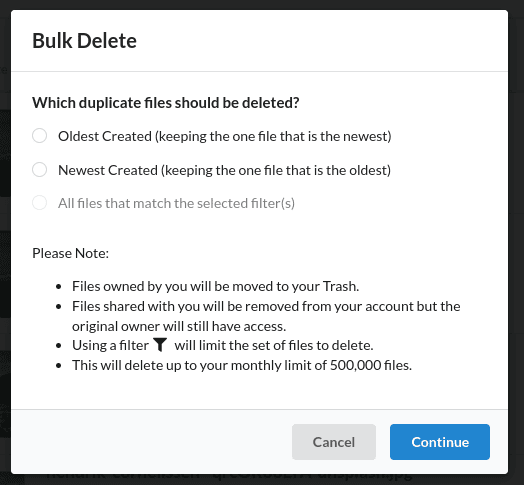
Then select oldest or newest in the dialog and click continue. Since this has the potential to delete a lot of files very quickly, you will see one more dialog asking you to confirm that you want to delete the files.
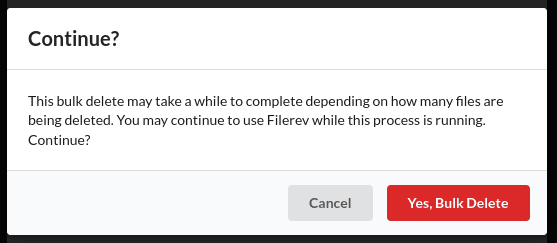
Once you click Yes, Bulk Delete, you will see the same progress indicator as described in the manual deletion section of this article.